

Install the Audio Manager
The Machine Agent installs the Audio Manager on the studio computer. You don’t download it yourself.1
Choose the Audio Manager for the studio
For a new studio, select the Audio Manager in the Apps step of the
studio onboarding. For an existing studio, open Settings → Studio → Core
settings and turn on the Audio Manager under Clients.
2
Let the Machine Agent install it
The Machine Agent installs the Audio Manager and starts it. The computer
needs your mic channels as an audio device, like the Dante Virtual
Soundcard. On a second computer in the studio, open the Machine Agent menu
and select Install apps.
3
Check that it is online
Once the Audio Manager is online, the Audio triggers page stops showing
the Audio Manager is not installed alert.
Create triggers from a detected setup
When the Audio Manager recognizes your audio driver by name, the trigger list shows a Setup detected card. It recognizes Dante Virtual Soundcard, RME, RAVENNA, Digigram, Lawo R3LAY, Merging and Axia Livewire+ drivers. A match it is less sure of carries a Best guess badge. Set Channels to create and click the Create triggers button, which shows the number it creates. You get one trigger per channel, each listening to its own channel. Every trigger starts with a placeholder command, Dummy - Change to real Command. Replace it with a camera angle before you go on air, see Choose what a trigger fires. Click Not now to skip the card and set up triggers by hand.Pick an input for a trigger
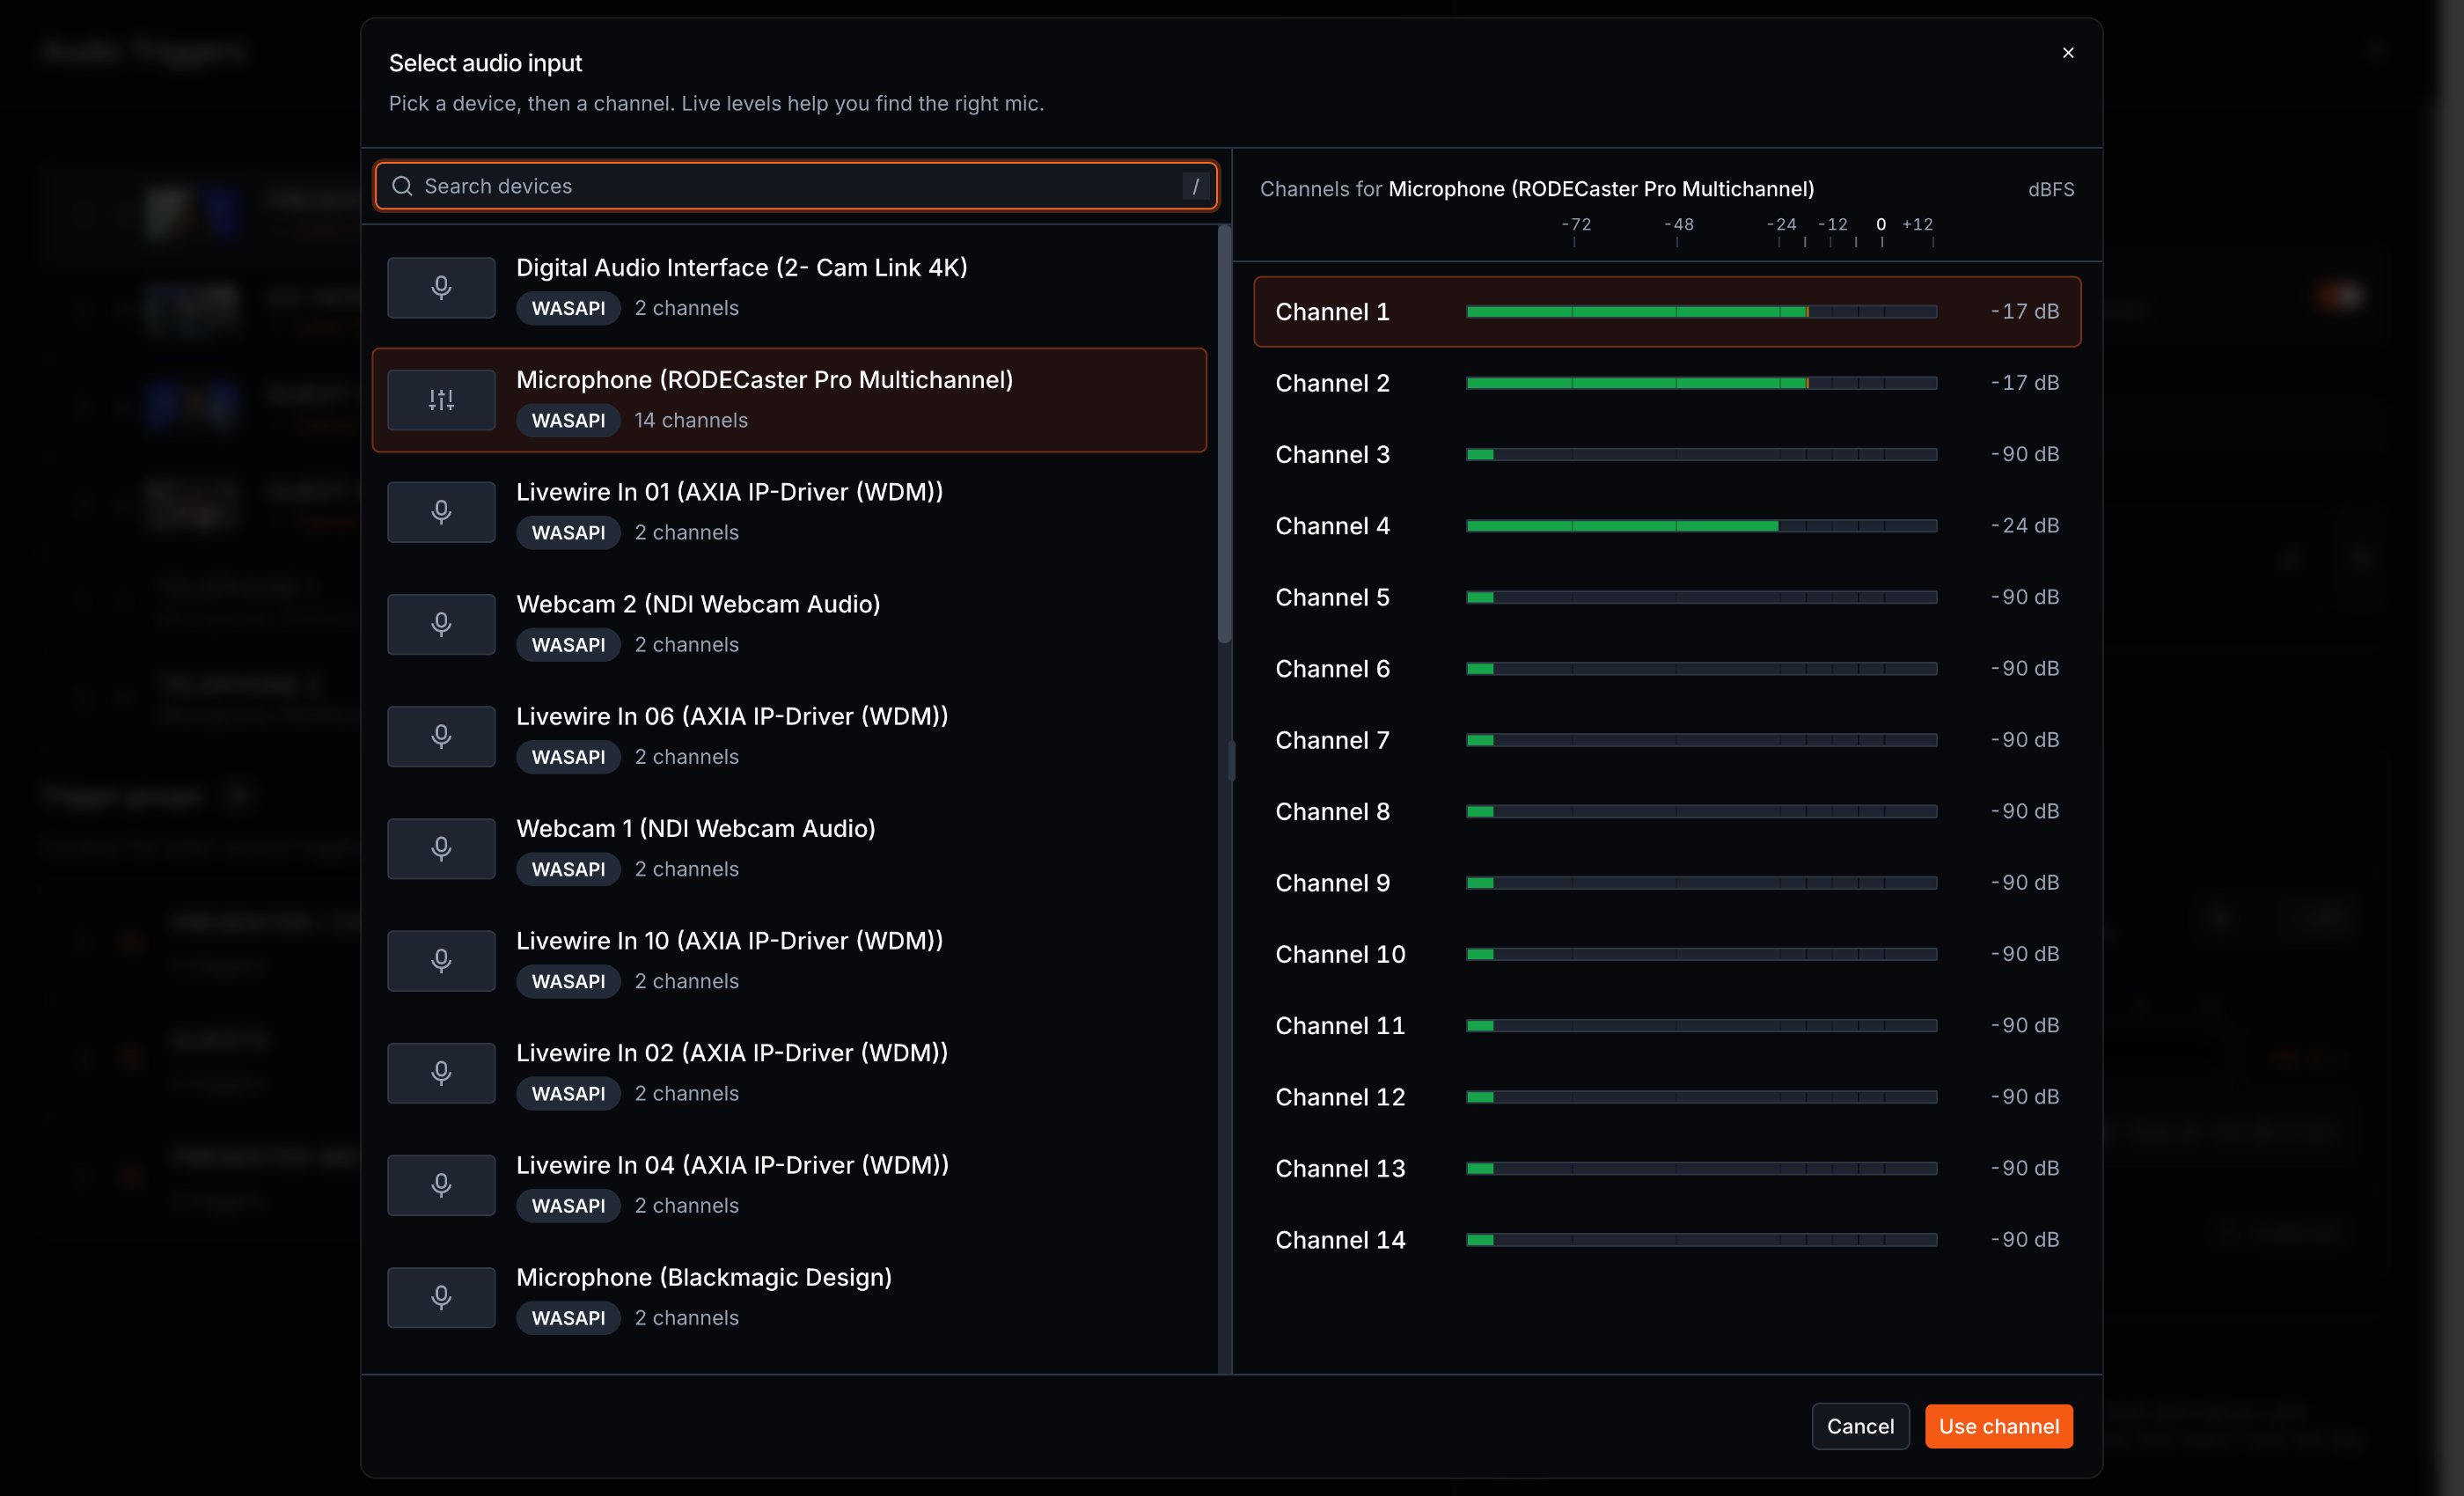
Each trigger listens to one channel on one device. In the trigger editor, click Select audio input:- Pick a device on the left. Devices show their channel count and an Unavailable badge when they are disconnected.
- Pick a channel on the right. Every channel shows its level, so ask the presenter to talk and watch which one moves.
- Click Use channel.
Set up an unprocessed mic
Every input has a Post processing switch. Click the Input settings button next to the input in the trigger editor, or edit the input at Settings → Studio → Audio → Audio inputs. Post processing is on by default. Leave it on when the mic is already gated or compressed at the console or a processor. The trigger then uses its own threshold, and you calibrate it. Turn it off for an unprocessed mic. The Audio Manager then runs its own noise gate on the input, and the gate decides when the trigger fires. Mic presets only apply to inputs with Post processing off:- Mic preset - Starting values for common studio mics: Shure SM7B, MV7, SM58, Beta 58A, Beta 87A and SM86, Neumann BCM 705, TLM 102, TLM 103, KMS 105 and U 87 Ai, plus Generic mic. Pick Custom to set the values yourself.
- Open and Close - The levels in dBFS where the gate opens and closes. Close sits a few dB below open, so the gate does not chatter around one level.
- Attack, Hold and Release - How fast the gate opens, how long it stays open after the voice drops, and how fast it closes.
- Speech floor - Rejects sound that is not speech, 0 to 1. 0 turns it off.
Presets are starting points by mic type, not measurements of your studio. The
same mic reads differently with different gain at the console, so check each
one on air. An input with a mic preset can’t be calibrated.